Paint over your vanity sink
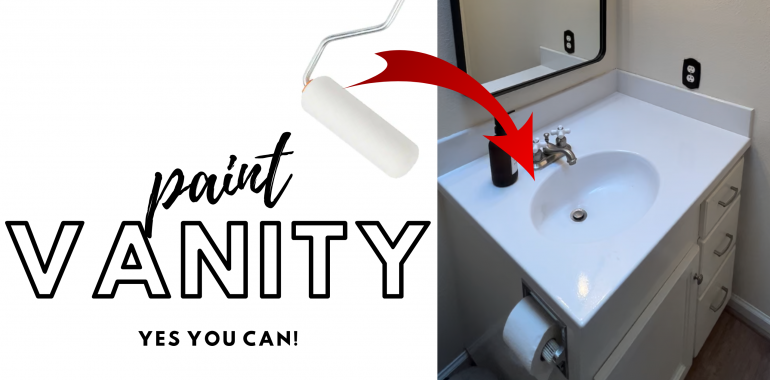
Paint over your vanity sink
Today, we will show you how we upgraded the look of our two vanity tops for under $30.
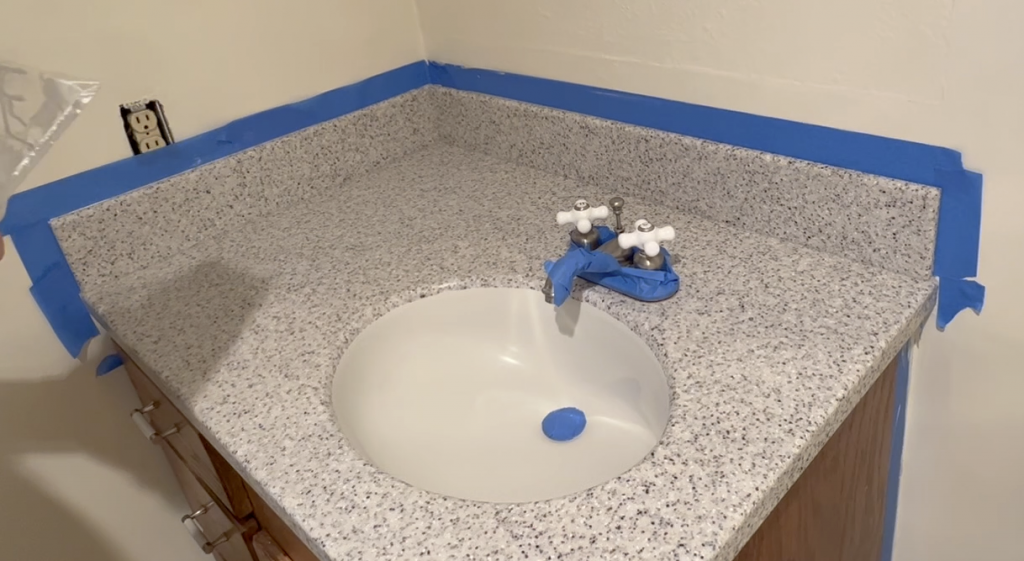
As you can see, our vanities were dated and needed some updates. We considered replacing them with new ones which wouldn’t have been a bad idea. But we figured the shape of the vanity was really not the problem but the color and patterns were what was really bothering us.
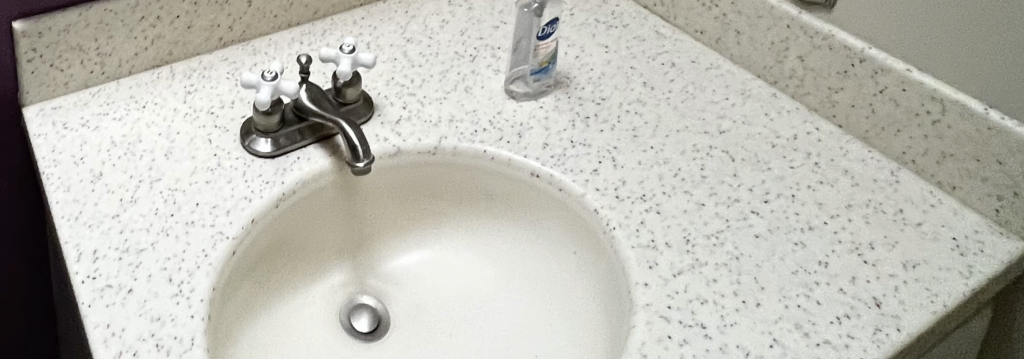

We decided to giving a paint job a try for the vanity top, if that didn’t turn out well after spending $30 then we were willing to toss the vanity out and get new ones. It was a test worth running that could end up saving us $800 if we were to replace the vanities.

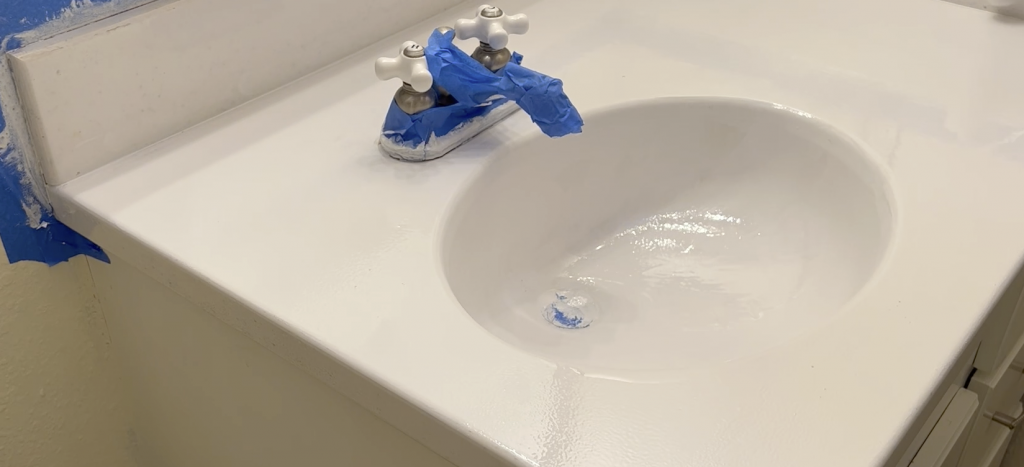
After doing some searches, we’ve come to know about the Marine Topside paints. Apparently these paints are used on boats where they come in frequent contact with water and can be painted over wood, metal and fiber glass surfaces to provide solid and durable water repelling layer. People use this paint to even paint over their bath tubs and shower walls. We ended up picking one from the Rust-Oleum brand’s white color version. To cut through the chase, it turned out very well to our liking. It provided near ceramic like look and feel at the end.

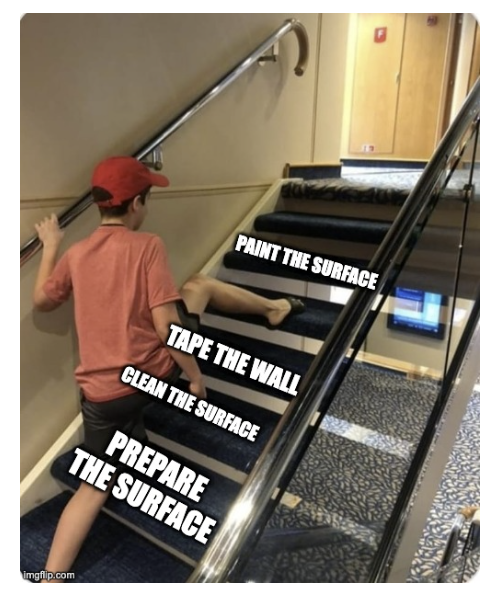
This is how we prepared and applied the paints on our vanity sinks.
The first step is always the most import and time consuming step; preparing the surface. Here I scraped the surface first with paint putt to get rid of paint drops or other hardened residues left on the sink.


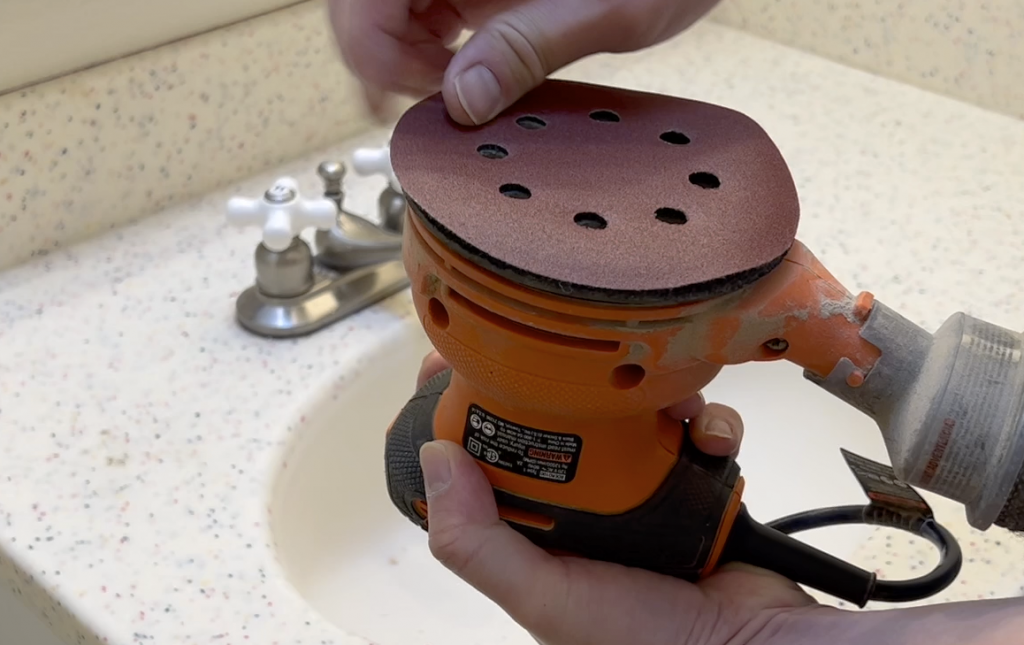
If you have caulks on the surface you are going to be painting over, you should also remove them before hand as well for the best adhesion possible. I then brought out my random orbital sander and 180 grits sand paper to gently sand over the vanity surface. This supposedly would create micro grooves to make a tighter paint bonding between the surface and the paint.
Once the surfaces were prepared, I made sure to vacuum and wipe clean any debris from the surface. It’s amazing how sensitive our touches are. Running my palm around the surface noticed many unseen debris and gunks on the surface.
I then taped around the faucets and the walls surrounding the vanity. You can remove the faucet as well but as mentioned earlier in my other videos, my home was not equipped with in house water shutoff bibs, so I am a little hesitant to touch the water lines in case I messed up the in sink water shutoff valves. For us, it turned out very well even without taking off the faucets.
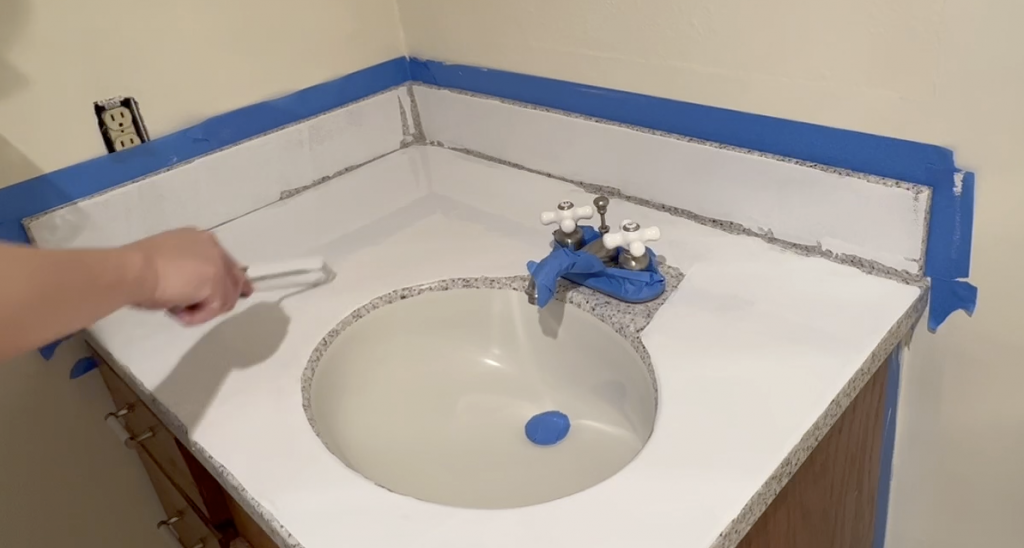
I then applied the paint in 3 separate coats with 24 hours term in between to let the paint cure.
This paint just smells chemical all over and I recommend that you use a respirator while working with in. The good news is you are most likely going to be applying this in bathrooms, so turn on your bathroom fans and let the air keep venting out.
On the first paint, it looked botchy but don’t worry, the second and third paints will hide all the blemishes. One recomendation from the experience is not to touch up the same spot too many times once it starts to harden a bit. It seems to create more air bubbles and surface patterns. While it’s wet, the paint does an excellent job in self leveling but as it hardens if you make the surface bubbly, it tends to harden with some resemblence of your last touch up. I would just wait for the current coat to dry and apply a whole new layer on top once it hardend for more than 24 hours.
To speed up the paint drying, I ran a space heater in the bathroom as well.
To apply the paint, I’ve purchase high density foam rollers. I recommend you buy multiple rollers as these paints tend to harden after 24 hours and using hardened rollers does leave behind patterns when reapplying the second and third coats.
If you make any mistakes, don’t worry and buff it out using fine sand papapers like 200 grits. Then clean out the dusts and apply another coat over to correct the blemishes.
We really liked how it turned out in the end and decided to keep our $800 for another improvement area.
If you liked my video, please don’t forget to like and subscribe and come back for more as I will be uploading new contents weekly.
Also if you are interested in finding the products used in this video, check the descriptions section for links to these products.
Rust-Oleum 206999 Marine Topside Paint, Gloss White, 1-Quart
https://amzn.to/3K0ZFuw
ROLLINGDOG 4″ Small Paint Roller -10PC High Density Foam with Frame for Cutting in and Detail Painting
https://amzn.to/3Kjf2yT
BLACK+DECKER Random Orbit Sander, 5-Inch (BDERO100)
https://amzn.to/40RL3ne
POWERTEC 45018-P2 Aluminum Oxide Hook and Loop Sanding Disc, 5″ x 8 Holes, 180 Grit Sandpaper Disc for Random Orbit Sander, 50 PK
https://amzn.to/40OdORO