Installing sconces
Installing sconces

Today, we are going to install sconces on our bed sides despite the perfectly fine light stands we have in place because, well my wife said so. Remember, they are always right.
Jokes aside, installing sconces can clear up clutters and add a fresh touch to a bedroom ambience.
Luckliy for us, there were already two wall sockets in place directly below where we wanted the sconces installed on, so we went ahead and ordered our products from Amazon. If you want to find out the product details, please visit my website linked in bio or see the description.
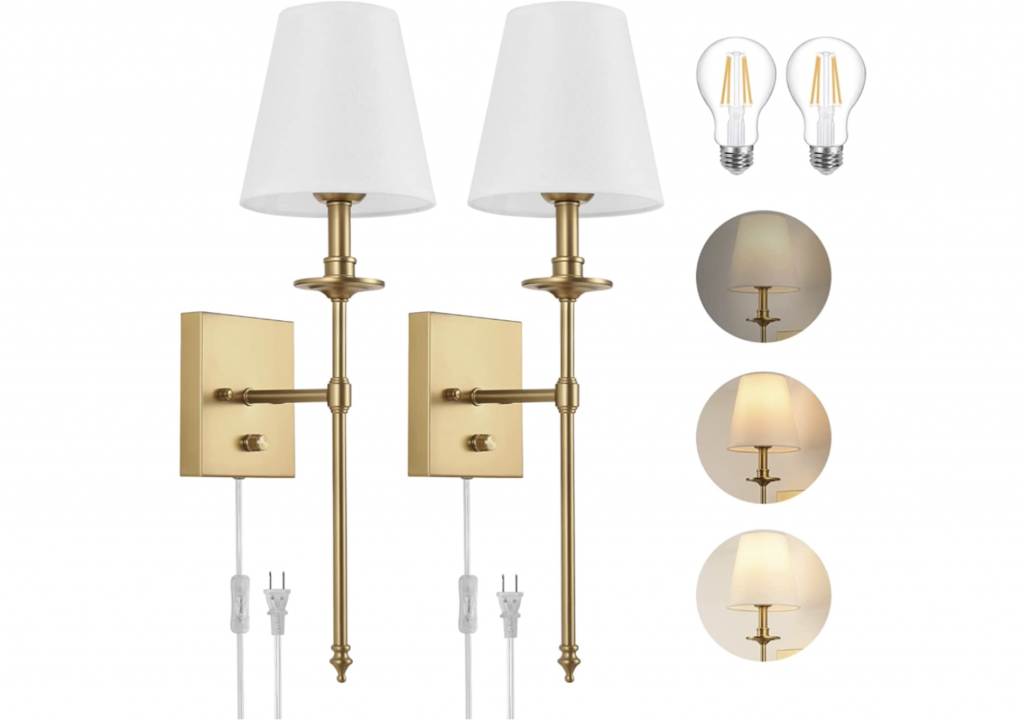
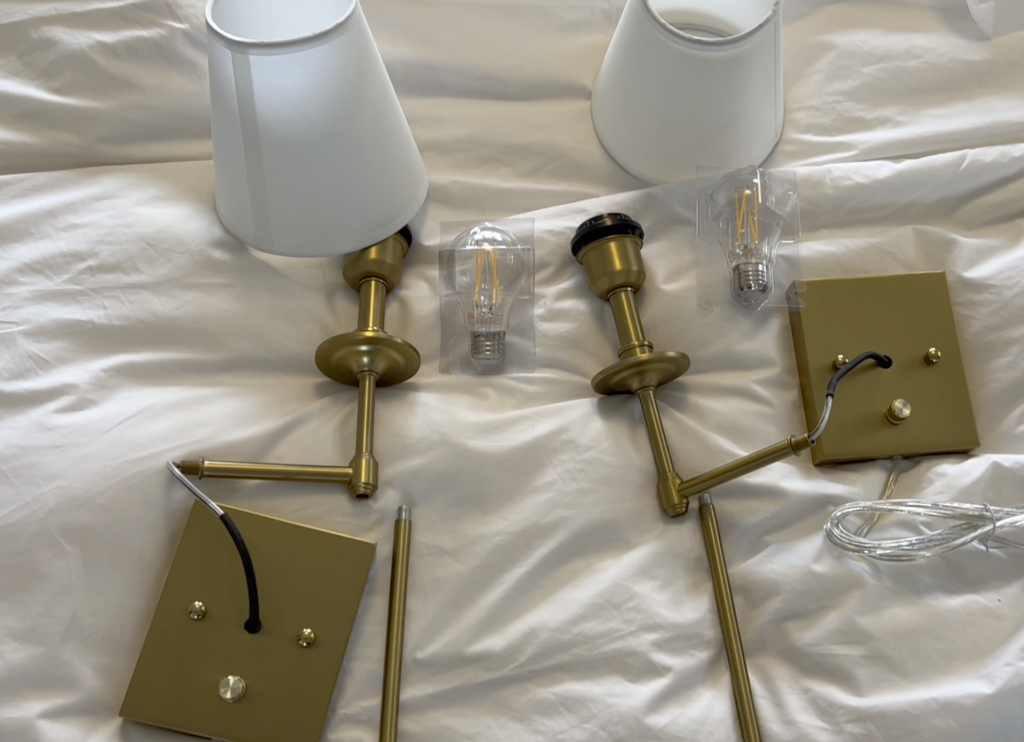
We got a pair nicely packaged in the delivery box. And these can be easily put together. For our house, we are going for a mid century modern look, so we picked out these golden sconces.
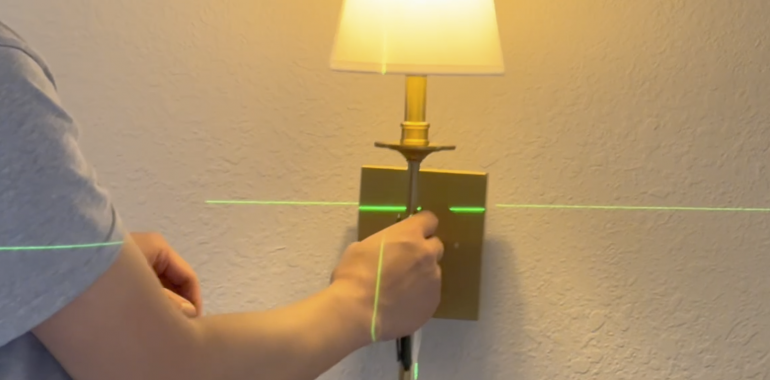
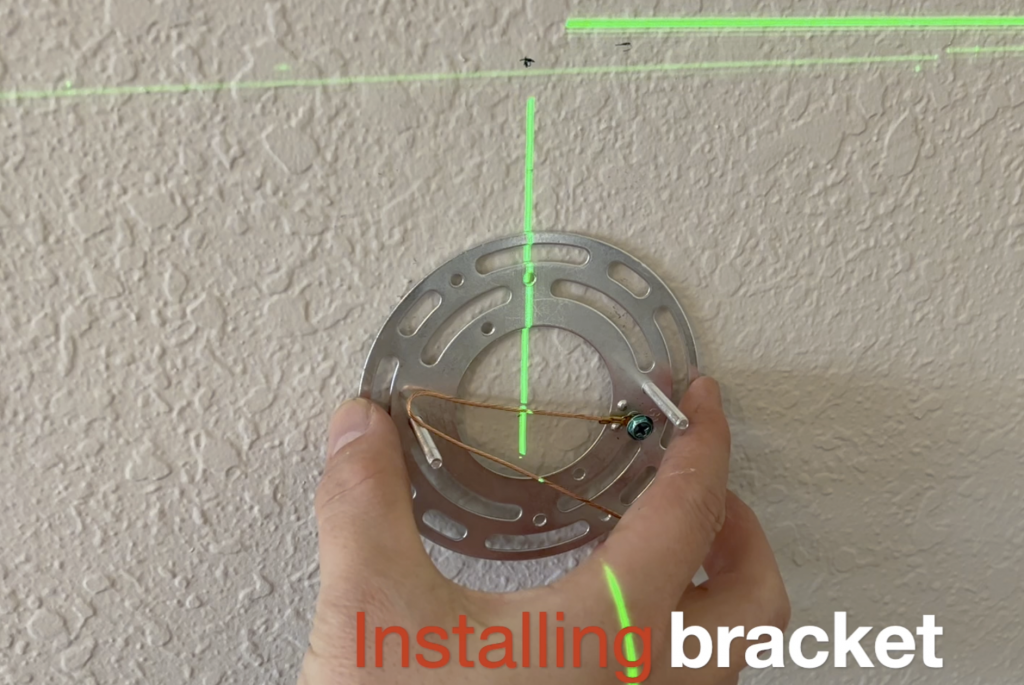
Once we put the sconces together, we need to set the appropriate height and center point. To help us find the center and level details, I use the laser level guide which can be also found in descriptions section.
This definitely is a two person job. I asked my wife where she wanted it to be placed and we found the perfect spot to install. I used a pen to mark the top and bottom of the sconce housing, while the laser level is pointing directly at the center line.
Once you have the spots marked, make sure that there aren’t any critical building components like water pipes or electrical lines behind the spot. I just use the stud finder to check if there is a stud behind the spot. If there isn’t a stud, I try to be extra careful when drilling the hole on the wall.
I then use these references and the housing bracket to mark where I want to drill holes for the bracket.
If you haven’t gotten a drill, I strongly recommend that you do. I tell over and over, this was the best investment I’ve made in my tool box.
DEWALT 20V MAX Cordless Drill/Driver – Bare Tool (DCD780B)
Once the holes are plugged with the drywall nail holder, I install the bracket securely.
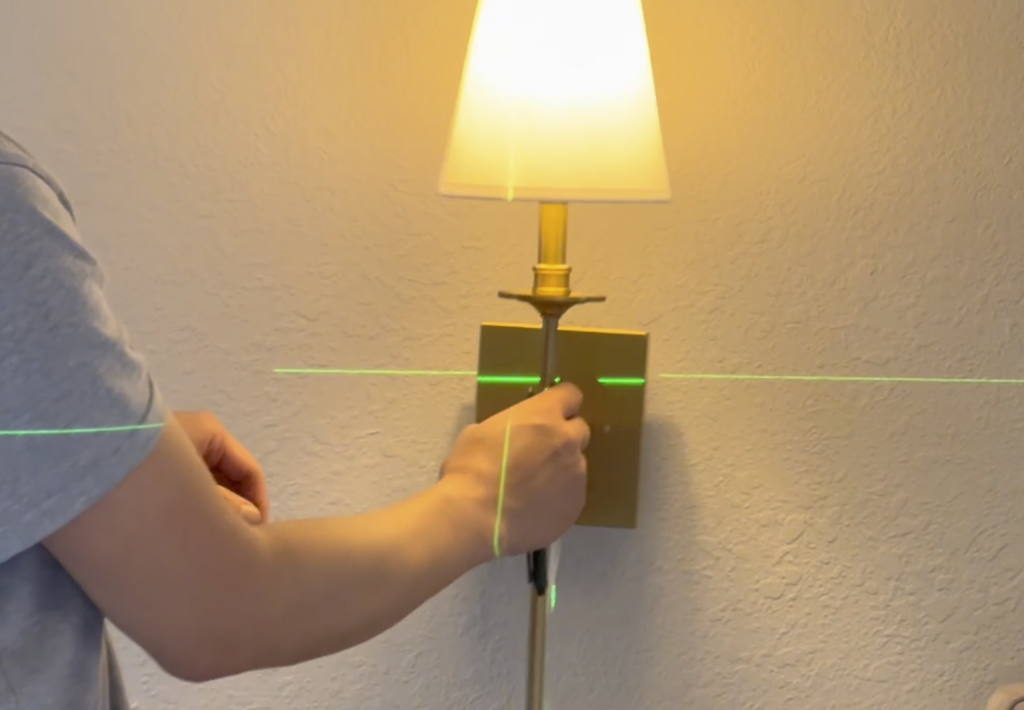
Now I can complete the securing of the sconce. Straighten it out. Then test for light. Let there be light!
All right, we are half way through now.
I again leverage the laser level to extend out the horizontal line to mark to align my right sconce. Once I mark the top reference, I move the laser level to the side to help me spot the center point again.
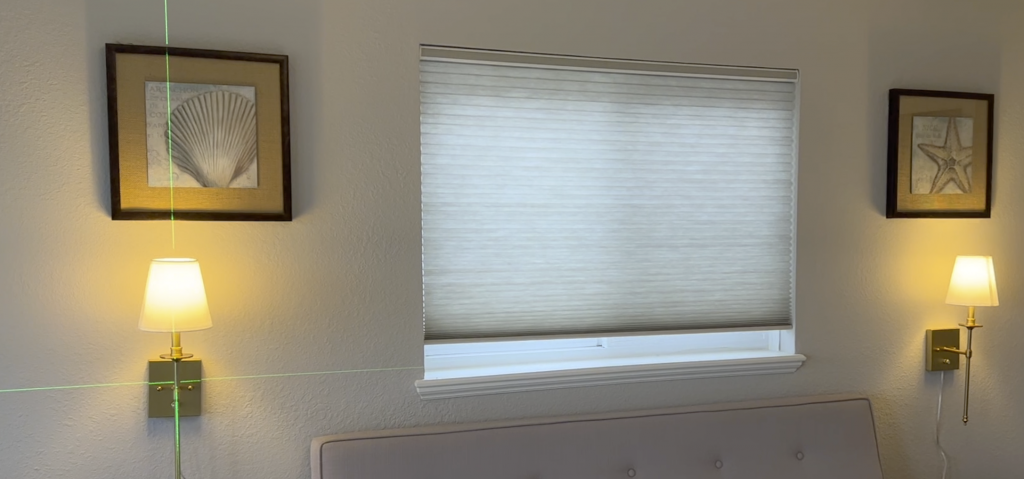
I repeat the same process and voila! I have installed sconces on the wall now!
Hmm but these running cords just look so messy. Let’s see how we can hide them behind the wall in my next video.
Tools used in this post: