Create wooden shelves for your bathroom
Create wooden shelves for your bathroom
Today, we’ve decided to start on our bathroom improvement. I wish if I had taken a better picture of the before, but this bathroom was seriously outdated and needs a refreshing.
The main areas I’ve decided to work on are as follows:
- Reflooring the linoleum with vinyl flooring that looks like hardwood.
- Painting the wall color to something lighter.
- Replacing the light fixture.
- Replacing the mirror.
- Updating the vanity sink to hide over these confetti patterns.
- Then replacing the glass shelves with wood shelves.
In this video, I’m going to focus on how I replaced the glass shelves with wood shelves.
Please check out my youtube channel @goodenoughdiy as I will be sharing each step I’ve mentioned earlier. Of these, I’ve already posted the video on how we Re-floored the linoleum with vinyl flooring that looks like hardwood.
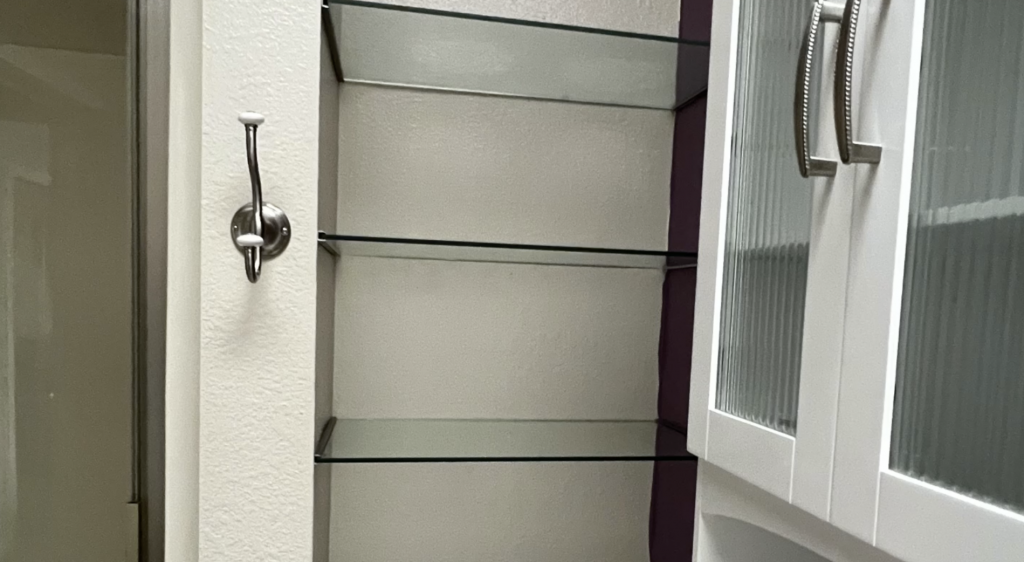
When I removed the glass shelves, I had a choice to make. I could either completely remove the wall brackets that the glass shelves were held by. Or keeping them and placing wood shelves on top of it.
After a few attempts in removing them, I pivoted to building wood shelves that can sit on these brackets. If your area of installation does not have such pre-installed brackets, you can easily install small wood blocks to act as holders for your wood shelf.
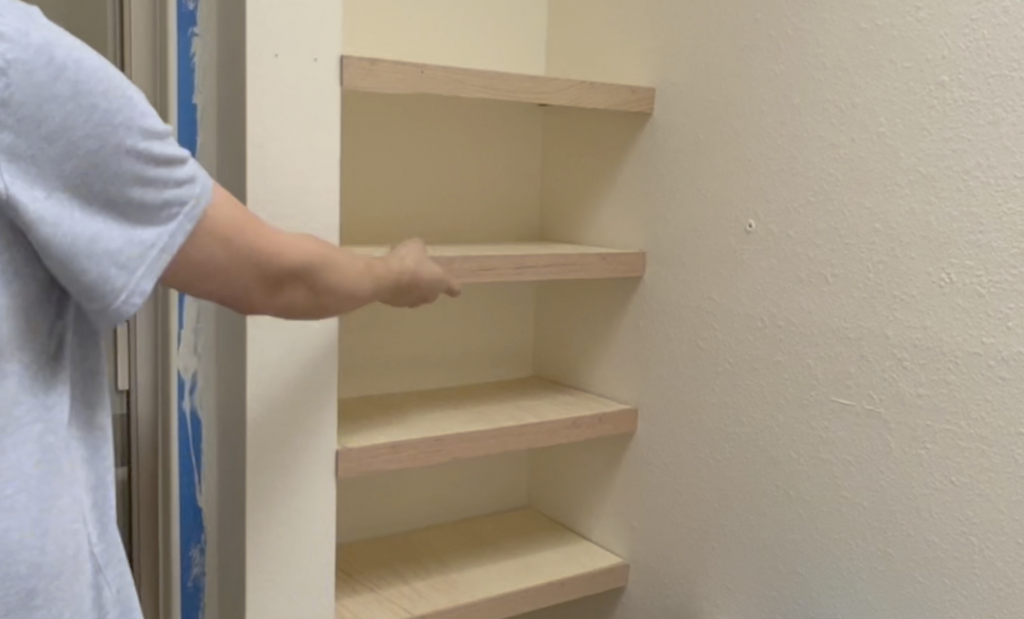
In order to build the shelf, I opted for a very basic structure. A top surface, and a front cover to hide the shelving brackets from the view. But since I didn’t have complex tools like table saw to cut these, I wanted to use thin materials that I could manage with a jig saw and a miter saw. That left me with a challenge in how to securely bond the front plate with the top surface since they were both thin. My choice here was to add a smaller but thick enough wood piece against the top surface as an anchoring piece, then nail them on with the nail gun against the surface, and then the face plates against this anchoring piece.
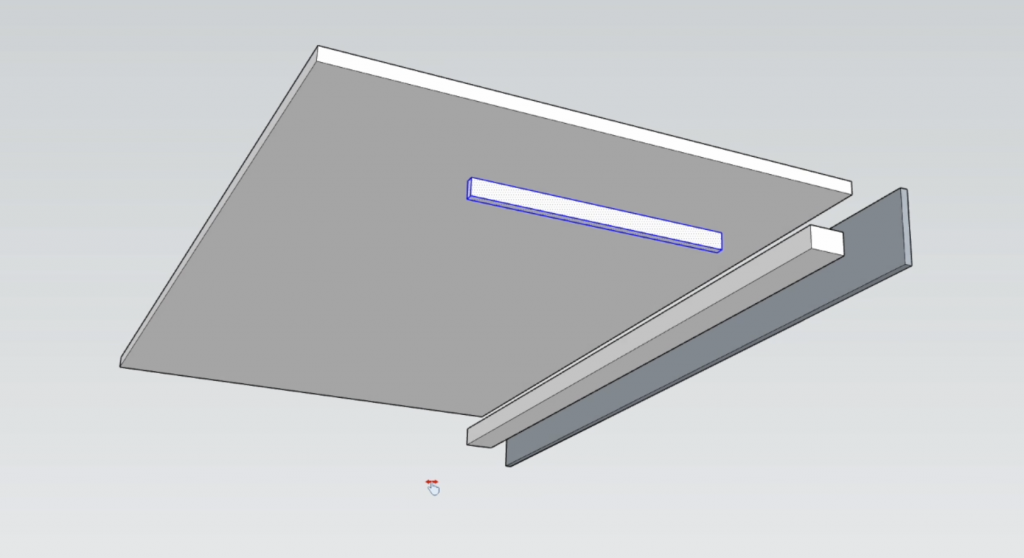
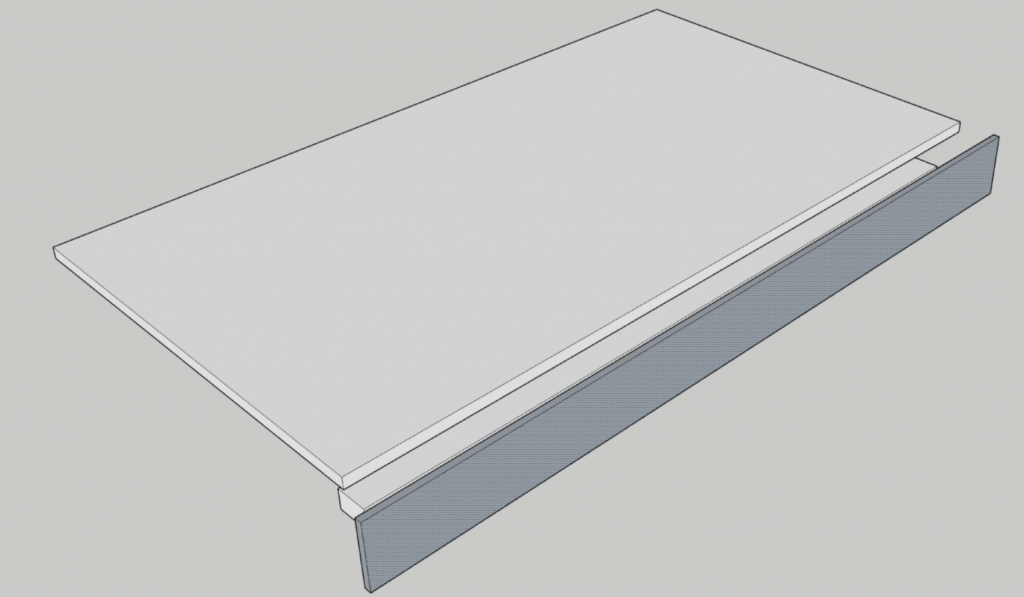
After the plan, I went to home depot to source the materials. I purchased a few plywood panels to cut into 5 shelf surface boards, then a few 1 inch by 2 inch wood pieces to serve as nailing anchors, then 0.75 inch by 1 inch birch face plate.
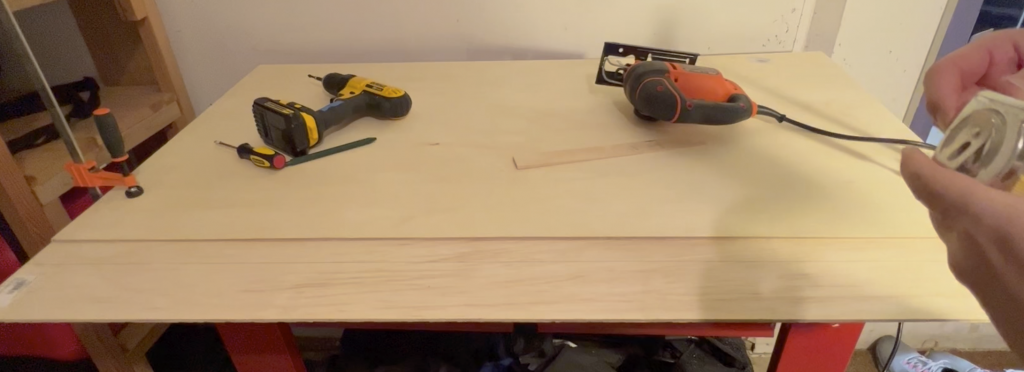
I first tried to cut the plywood for the surface board using a jigsaw. I thought if I clamped a guiding wood piece on top of the plywood, then by using the blade guide, I could simply push through the plywood with the jigsaw in a straight line. However upon many tries, I ended up ruining my blades by bending them outwards. I think there are a few reasons to why this had happened but I could not proceed with this way to cut the surface boards.
It would have been the easiest if I had a table saw or circular saw but I just didn’t want to buy another saw that can take up a lot of space and pose a relatively higher risk in keeping my 10 fingers intact.
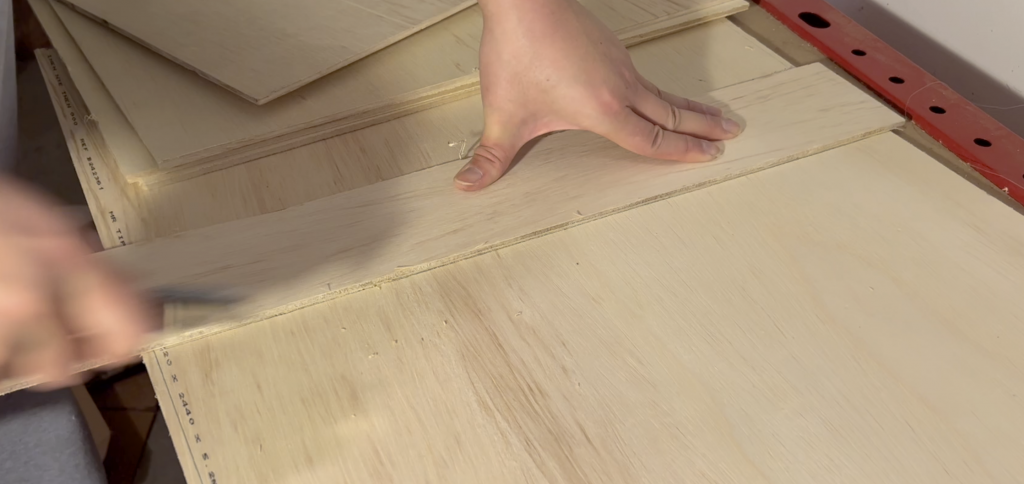
What I ended up giving a try was the technique used when cutting the vinyl flooring planks; using the box cutter to cut the board and snapping it and it worked like a charm for the board I bought.
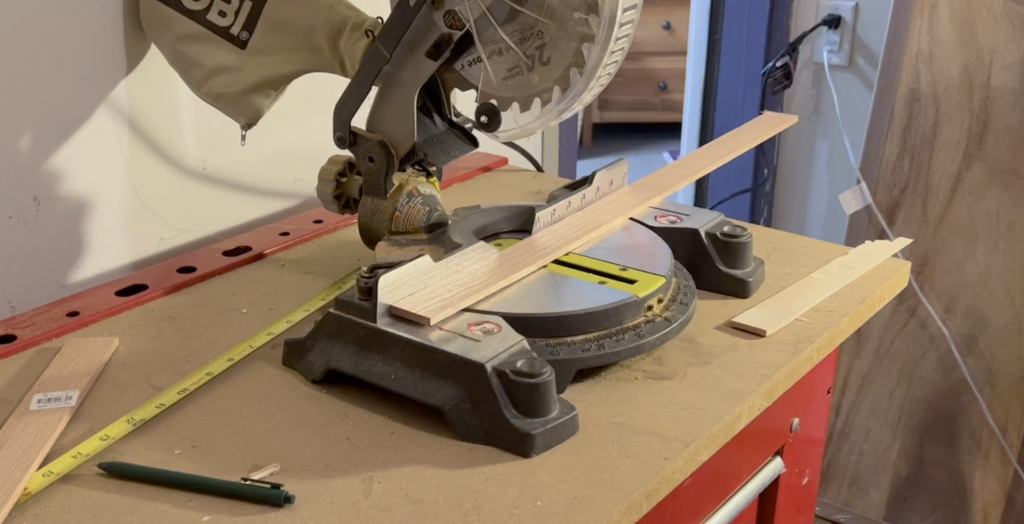
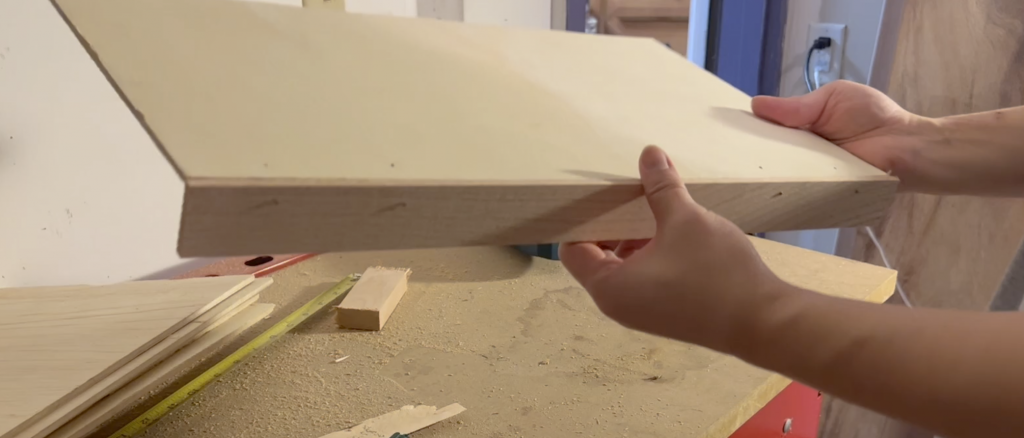
So after making the cut for the shelf surface boards, I used the miter saw to cut the nail anchor pieces. To save some money here, instead of cutting out the piece in entire length, I cut two smaller pieces for each end.
And lastly, I’ve cut the faceplate piece to match the surface board length.
Then started nailing the pieces together using the nail gun.
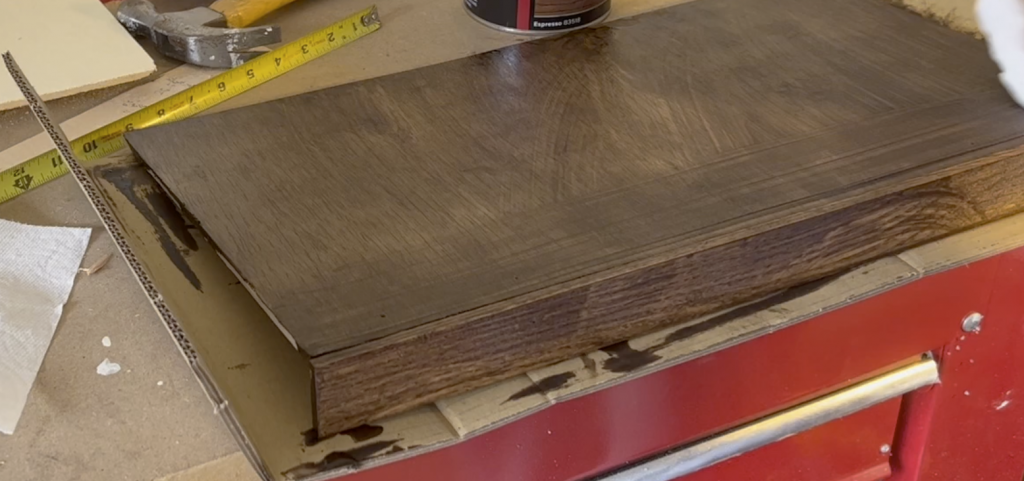
After ensuring that these would actually fit my shelving space, I then whipped out the random orbital sander to sand it at 180 grits.
After the dust had settled, I used this wood stain color chosen by my wife which turned out great! Because the wife is always right!
After generously applying the wood stain, I let it sit for a few minutes then wiped the excess away with a paper towel. Then left it longer to try.