Hiding sconces wires behind the walls
Hiding sconces wires behind the walls

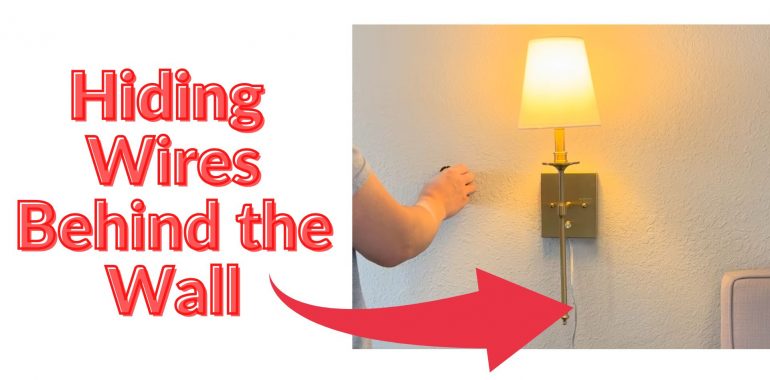
In this video, I will be hiding the power wires dangling out of my wall sconces.
If you would like to see my original video on how to install wall sconces, please check out my channel. Also please don’t forget to subscribe my Youtube channel as I will be uploading more DIY materials every week.
One thing to keep in mind is that your sconces need to provide a way to turn on and off the lights on the sconces itself.
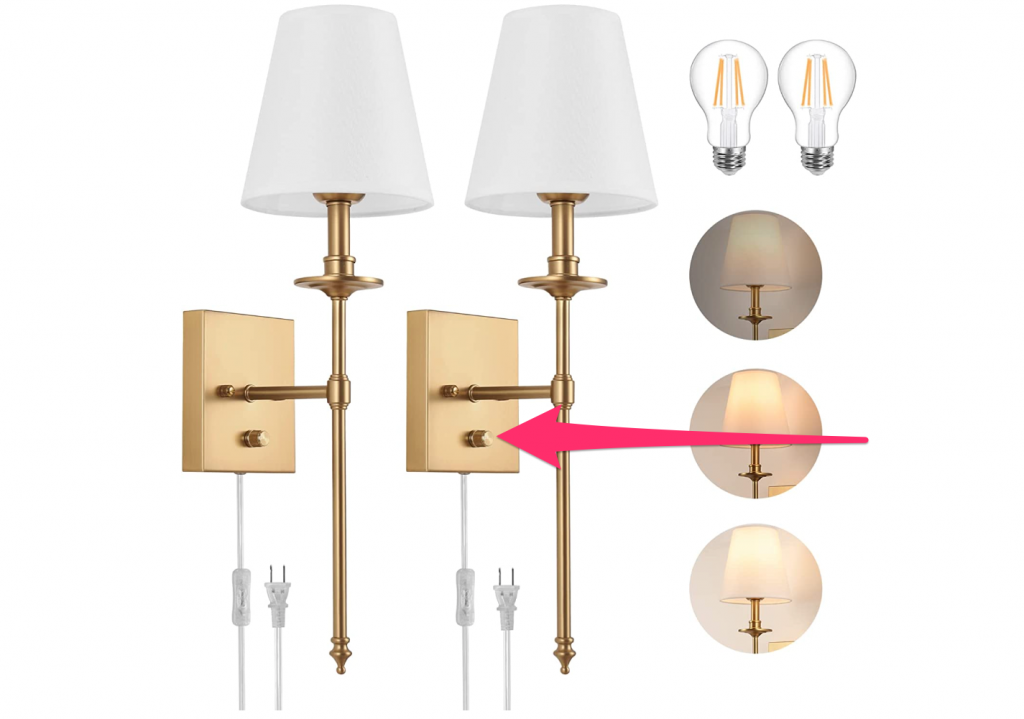
This particular light that I have purchased had these exact options. One switch was built on the power line to have binary on off option. Then it had a built in knob resister switch that can control the brightness and also control the power on off by toggling it off at the dimmest turn.
ENCOMLI Dimmable Wall Sconces Set of Two, Plug in Wall Sconces White Fabric Shade, Wall Lamp with 6FT Plug in Cord, Plug in Wall Light Bathroom Vanity Light Fixture, LED Bulbs Included, Antique Brass – https://amzn.to/3iJ4zBf
To install these sconces with the setup where I will only be using the built in knob switch, I’ve disconnected the power line from the sconces by cutting off a joint for the one of the two power lines, and disconnected from the other connection junction. Then I removed the power cord out of the sconce box. I will be threading this power wire behind the wall and eventually reconnect to the sconce.
Now the more challenging part!
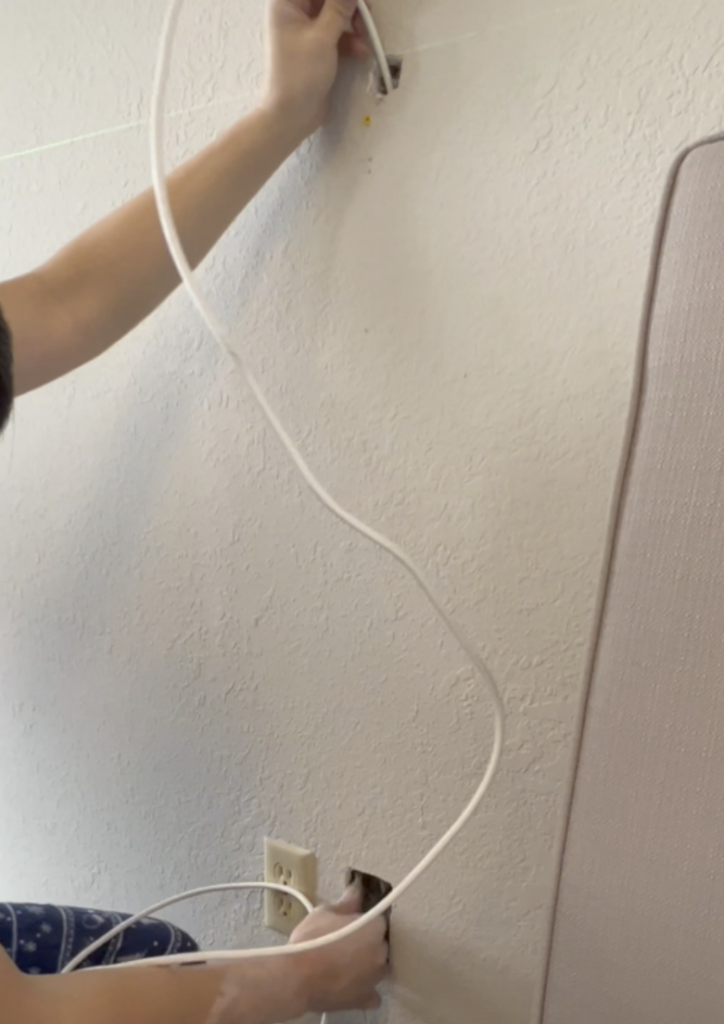
My approach here is to poke two holes; one at the top and one at the bottom. Then I will fish the power line through these two holes. Obviously, you can’t be feeding this directly on top of the studs, and you can only do so on spaces in between studs.
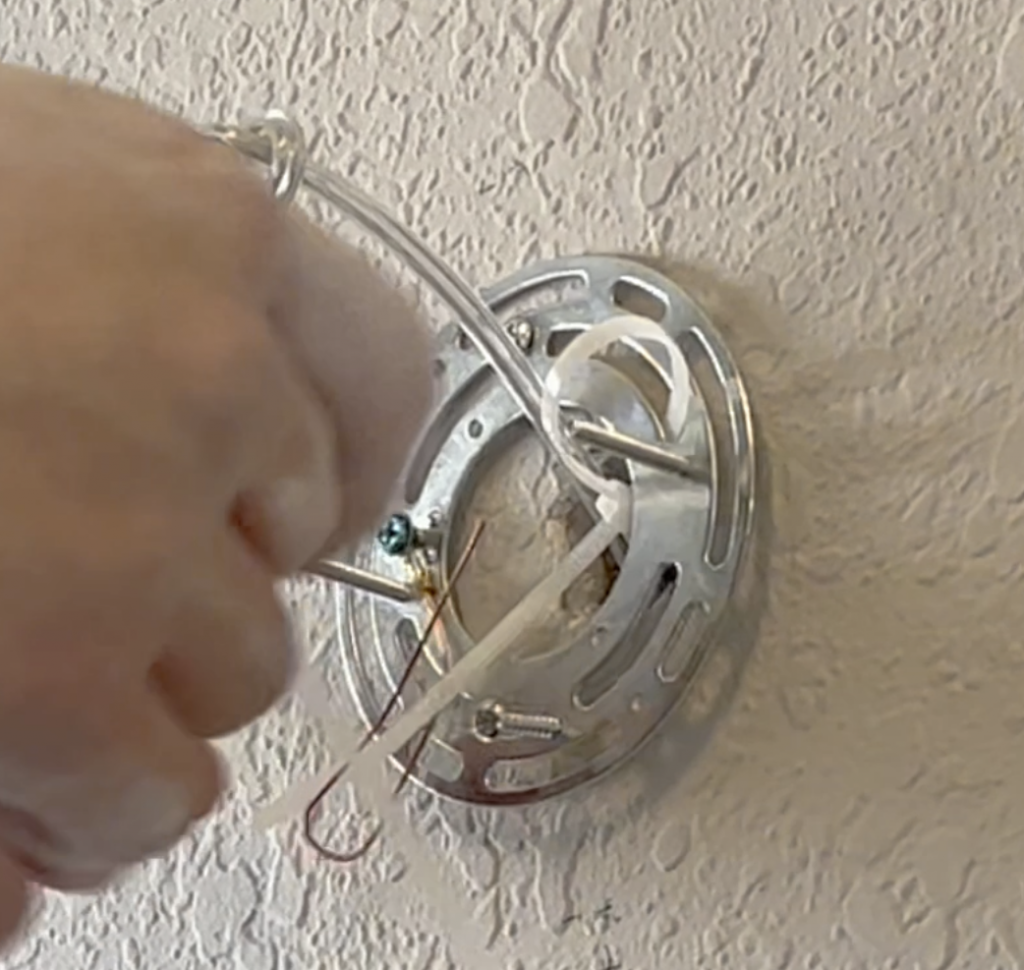
The top hole should be only big enough so that it can be hidden by the sconces holder. It also shouldn’t be in the way of your sconce bracket placement.
The bottom hole can be easily covered up by this special wall access plate I bought from Amazon. Links to these products can be found on my website and descriptions page. When making the opening, I trace the opening with the face plate holder and cut out the hole as the exact size.
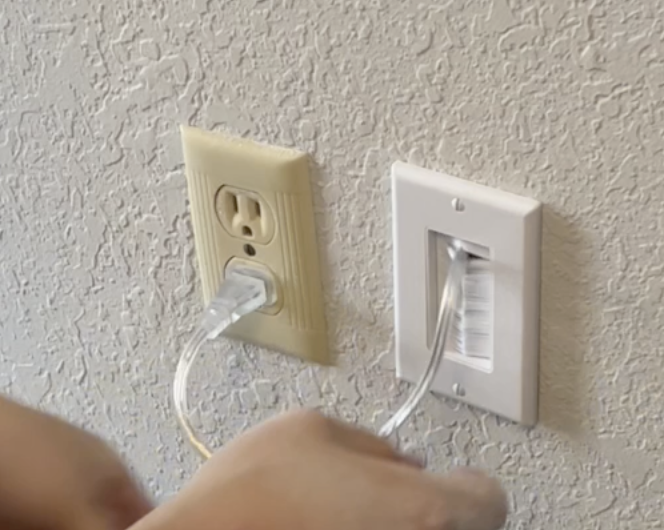
It comprises of a holder piece that has a smart clamp that latches onto the dry wall by tightening the screw. Then there is a face plate that gives you access through the wall while securely fastened on the clamp piece against the wall.
The most challenging part of this task is fishing the cable through the two openings. For this video, I’ve used a cable TV coax cable which has enough rigidity to push through the walls. I tie the power cable to one end, cover the spiky parts with a painters tape, then fished it through. Depending on your situation, you maybe better off fishing it from bottom up or top to bottom.
Keep in mind that your wall maybe filled with different type of insulation materials. If you have one of those insulation foam that hardens, then you won’t be able to use this technique. Know that before hand, or poke a smaller hole to ensure that you have a wall that gives yours enough space to weave a power cable through.
Before threading the power cable, I taped the switch to the on position to keep the power line always to remain in on position. After several not good enough moments, I finally made the cable through the holes.
I then reverse the process by connecting up the wires again, only this time the wire is fed through the sconce holding bracket. I’ve made an extra knot with a zip tie to fasten the power cable to the bracket to give the power cable a strong hold.
After reattaching the wires, I do a quick test to make sure the lights will turn on and off as expected. Then I secure the sconces back on the wall.
And let there be light!
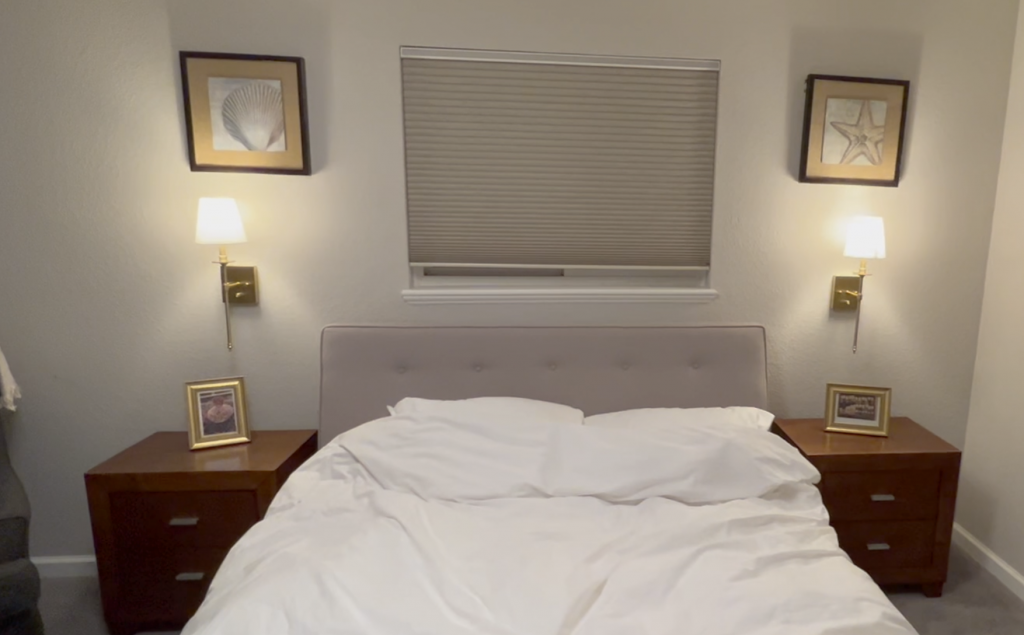
Now for the clean up, I use the drywall cover mount plate by placing it on the opening that was made to fit this plate. Then secure the face plate on top of it.
If you have a sconce that does not have a on-off switch on itself, or if you are installing it on a high wall position where it is awkward to reach for the built in switch, there is another option to manage the on-off switch using a wall switch. I will upload that as a separate video next week. Please don’t forget to subscribe my channel for these updates!
Materials used in this video
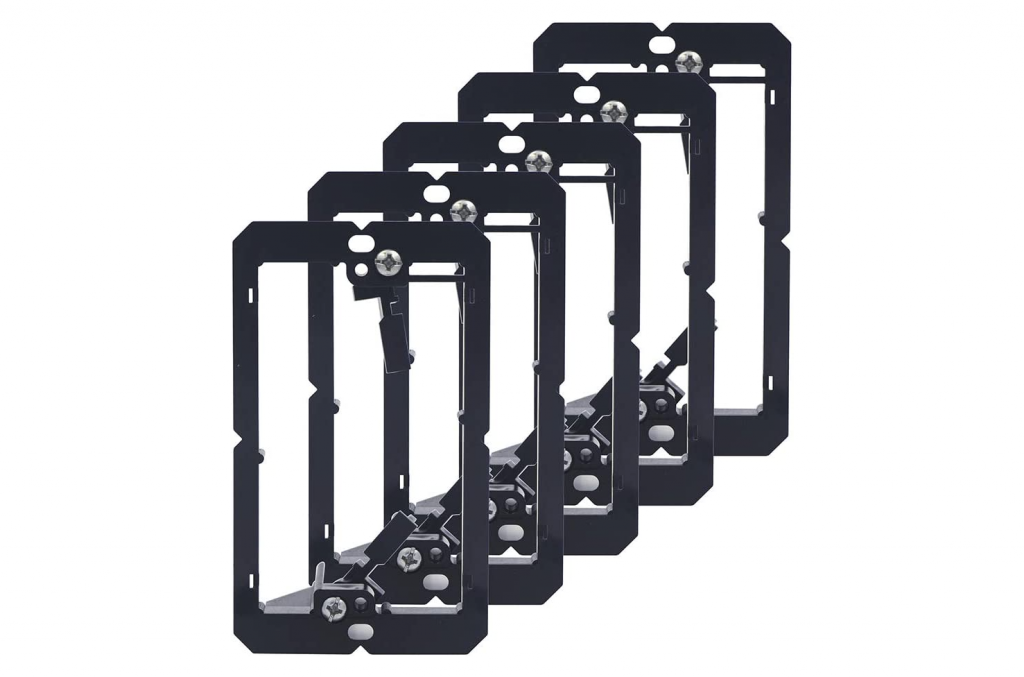
 VCE Low Voltage Mounting Bracket (1 Gang, 5 Pack) for Single Gang Wall Plate, Telephone Wires, Network Cables, HDMI, Coaxial, Speaker Cables, Black
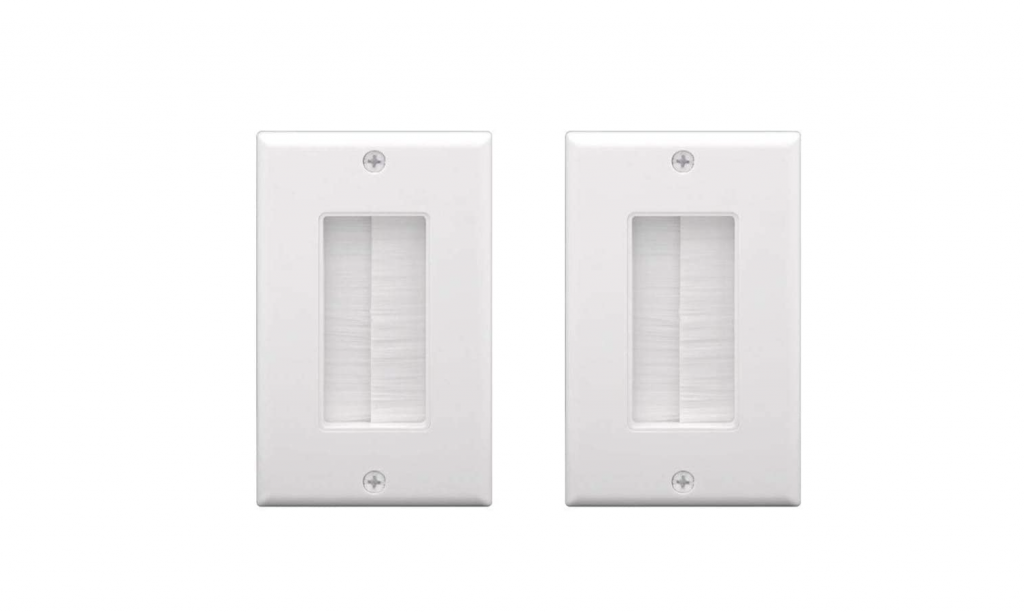
 VCE Brush Wall Plate Cable Pass Through, Single Gang Decorator Wall Cover with Brush Opening for Low Voltage Cables, in-Wall Cable Management for Wall Mount TV, Home Theater System, White (2-Pack)
 ENCOMLI Dimmable Wall Sconces Set of Two, Plug in Wall Sconces White Fabric Shade, Wall Lamp with 6FT Plug in Cord, Plug in Wall Light Bathroom Vanity Light Fixture, LED Bulbs Included, Antique Brass