Upgrade your vanity mirror

Upgrade your vanity mirror
In this video I will go over how I removed my bathroom vanity mirror and replaced it with a more modern looking one. A mirror take up so much dominant space along with the vanity sink in a bathroom, it makes a drastic difference when it’s upgraded. Of course, you probably want to make sure that your vanity in whole also looks reasonably updated. I will be posting another video next week on how I upgraded the look of my vanity by painting the vanity top and the sink to get rid of its old outdated pattern. Please make sure to like my video and click subscribe to get the notification for new contents every week.
In order to upgrade your mirror, you must first remove your existing mirror. From my limited experiences, I’ve seen three different main mechanisms to how mirrors are fixed on the bathroom wall.
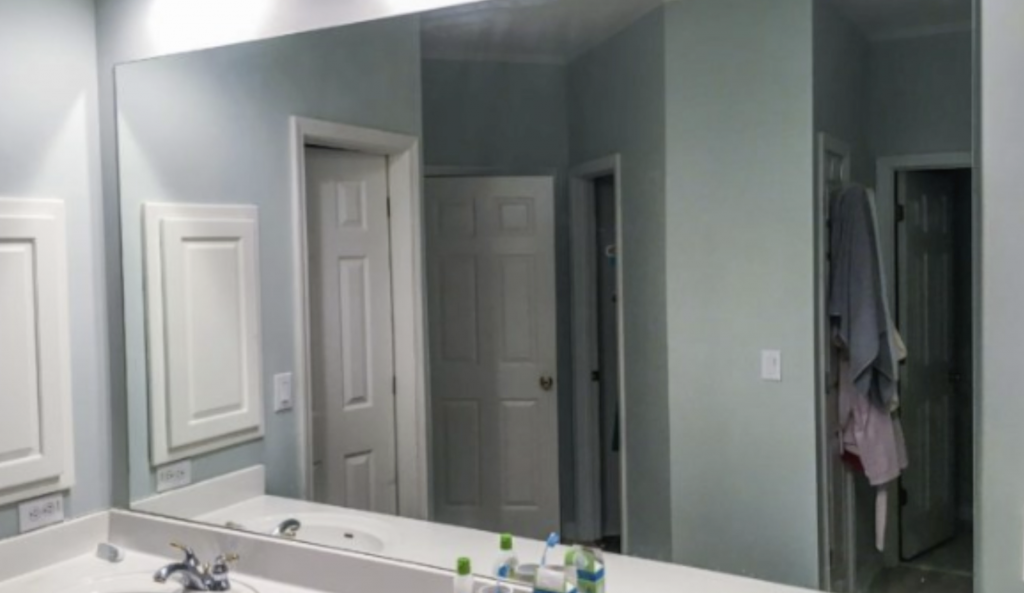
The first is the most conventional glue-on fixing method. This is most common for those flat mirror without explicit frames. I have not had a chance to remove one of these mirrors myself but there are plenty of videos out there on showing you how they’ve done it. In a nutshell, you start wedging these small wooden shims from various points surrounding the mirror and the collective expansion in the gap caused by these shims are supposed to break the glue free from the bondings.
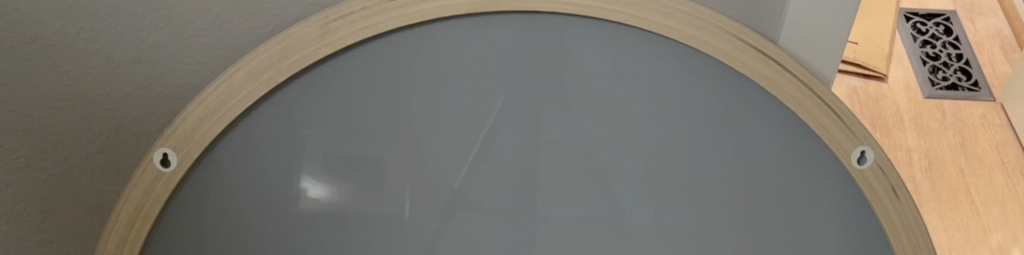
The second kind is common for mirrors with frames. Like shown in this video, these mirrors are held together by long nails from top and the bottom. As soon as you release these holding screws, the mirror will be set free, be ready to catch it as it gets set free.
The third kind is where they have two bracket pairs. One gets installed on the wall, then you latch that against the counter bracket placed on the mirror. These latches are held in locking state, where one latches from top to the other latch on the bottom, so the mirror will stay in place when pulled forward.
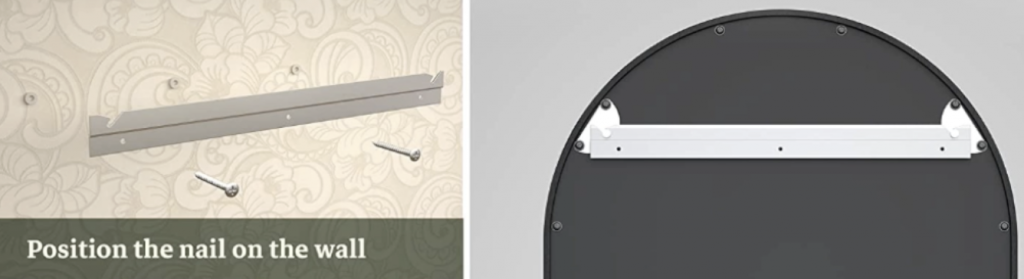
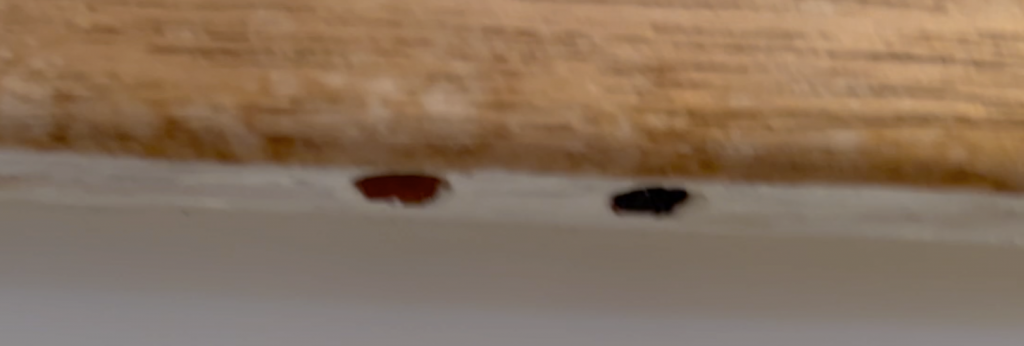
A slight variation on the third kind is one that does not use brackets but use nail heads and latching holes on the mirror. With these mirrors, you would nail or screw on nails on the wall that has flat heads. Then hang your mirror against it by placing the nails through holes on the mirror. These holes are usually wide in the openings and narrower on the top, so the mirror will stay in place even when the mirror is pulled forward.
In our house remodeling, I’ve replaced two vanity mirrors and both of them were fixed on the wall using mounting screws. I did not know this in the beginning and presumed that these were glued on and started hammering in shims all around it only to find out that it really wasn’t making any progress. Only upon close inspection to remove the vanity light, I saw the screws on the top and realized this was not a glue on.
So in my experience, this would be a good step in determining how to remove your mirrors.
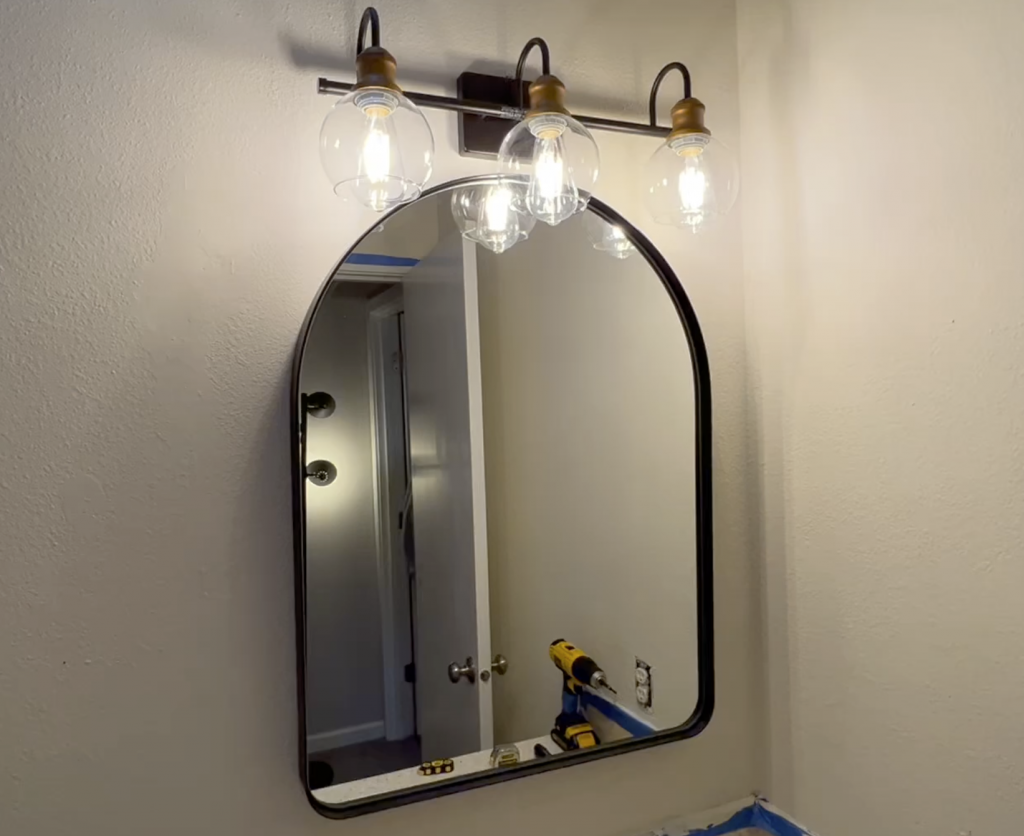
First check for obvious screw holes on top and the bottom of the mirror. It maybe helpful if you removed the vanity lights to grant you a better access.
If you don’t see these and your mirrors have frames around it, try simply lifting it up and forward. Be ready in case if it actually detaches and becomes free before you give it a try.
Lastly, if your mirror is frameless and flat against the wall, try the shim hammering method.
Also for the cases when you have paints covering the mirror and the adjacent wall, use a box cutter to cut the paint apart as well. Depending on the age but these paint layers do become very strong bond even after removing the screws holding them in place or prevent you from the mirror up and out.
When it comes to safety, nothing is good enough. Make sure you are ready to deal with the mirror once its detached by having the mirror face taped with duct-tapes and wear protective gloves and clothing just in case the mirror breaks apart. Have someone else be near by in case you will be needing help also have that person adequately protected with appropriate protections.
Once the mirrors are off the wall, I opted to performing some wall repairs as well as a new paint job in the bathroom. Personally I think the vanity mirror is one of the most looked at places in the bathroom, so if you can spend a little bit of extra efforts in making it look pretty, the impact will go a long way.
During this mirror installation, I’ve installed two mirrors in two different bathrooms.
One of them used the latch on the wall that latched against the mirror’s holding piece.
To install this mirror, I’ve put the latch on the wall while keeping it horizontally leveled. Then simply hung the mirror.
For the second mirror, I’ve marked the nail hole locations using a painter’s tape, which then I transferred to a wall while preserving the horizontal level. Then nailed on the screws in the drywall then hung it.
In both cases, I’ve used orbital sander and sandpaper to buff out any old paint marks or torn drywall surfaces. Then I used drywall putty to fill in any dips or holes. If you want to find out what materials I’ve used here, please check out the descriptions for links.
Once these minor repairs were completed, I then painted the bathroom room before hanging the mirrors.
Please don’t forget to subscribe and come back for my continuing journey in improving this house.
Also if you have any questions are areas you want me to explain in more depth, please leave me a comment.
TokeShimi Arched Black Wall Bathroom Mirror

BLACK+DECKER Random Orbit Sander, 5-Inch (BDERO100)

DAP 7079812328 DryDex Dry Time Indicator Spackling, Pink/White, 8 Fl Oz

Putty Knife

Huepar Cross Line Laser
